Apontando os e-mails do meu domínio
Para que seus e-mails funcionem em nossa provedora você deverá efetuar um dos apontamentos abaixo:
Se você deseja hospedar seu site em nosso painel ou ainda não possui um site, você poderá apontar seu domínio para os nossos servidores DNS.
Usando DNS de terceiros
Para hospedar seu e-mail em nosso painel e utilizar seu DNS atual, aponte seu domínio para os nossos servidores de MX.
|
ns534.umbler.com |
ns148.umbler.in |
|
ns283.umbler.com.br |
ns840.umbler.co.uk |
Passo a Passo
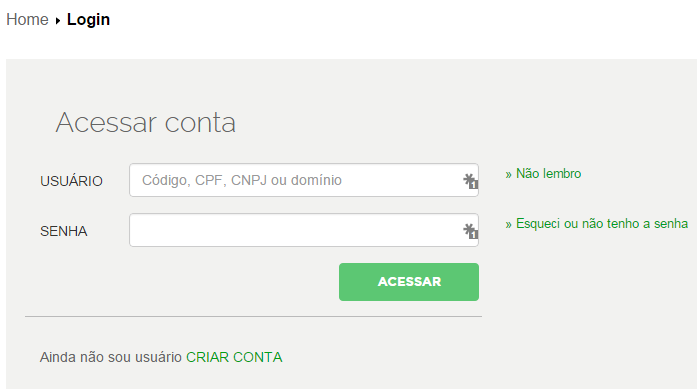
Acesse o site do Registro.br e acesse sua conta com seu ID e senha.
Clique sobre o domínio que deseja alterar.
Em DNS clique em Alterar servidores DNS.
Preencha os campos da seguinte forma, clicando no botão +DNS para adicionar os slaves 2 e 3:
Pronto, seu domínio esta conectado aos nossos servidores de DNS, a atualização dos servidores ocorre dentro de 2 a 24 horas.
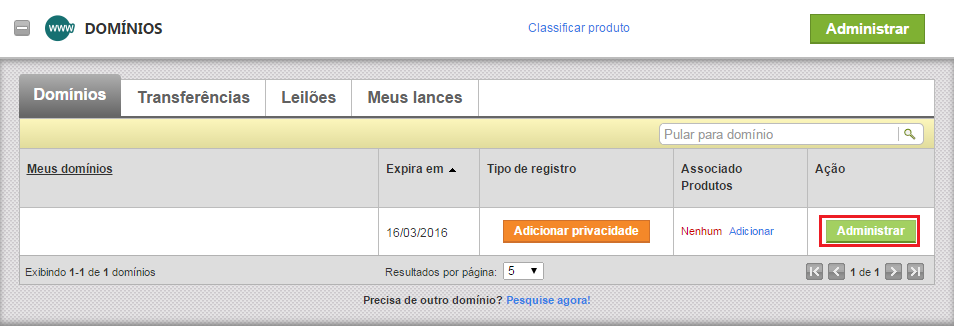
Acesse sua conta junto ao site da GoDaddy
Clique na opção Administrar do domínio que deseja alterar.
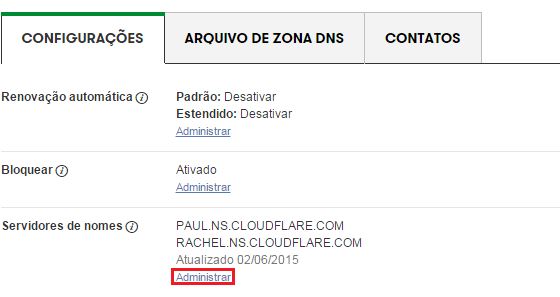
Na Aba Configurações, Servidores de nomes clique em Administrar.
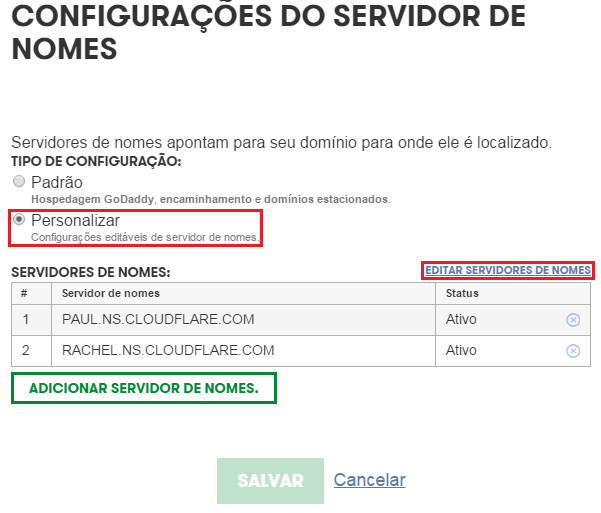
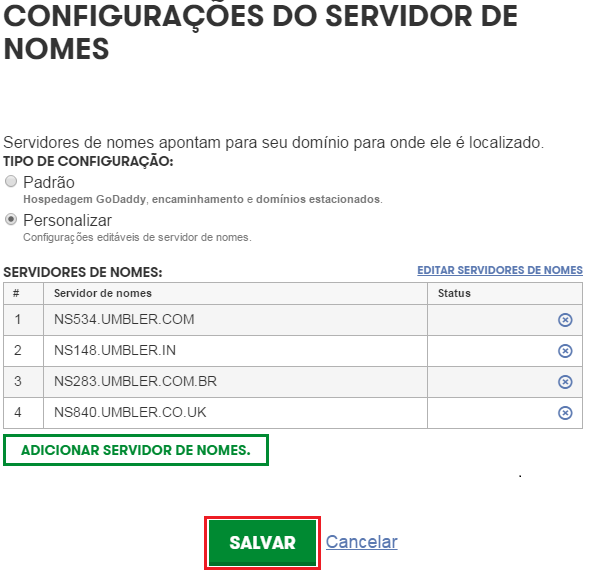
Selecione a opção Personalizar e clique em Editar servidores de Nome.
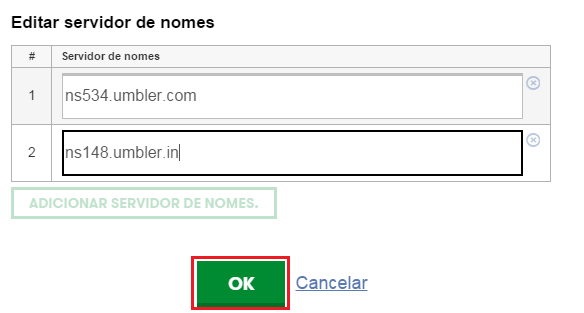
Informe no primeiro campo o ns534.umbler.com e no segundo ns148.umbler.in, clique em Ok.
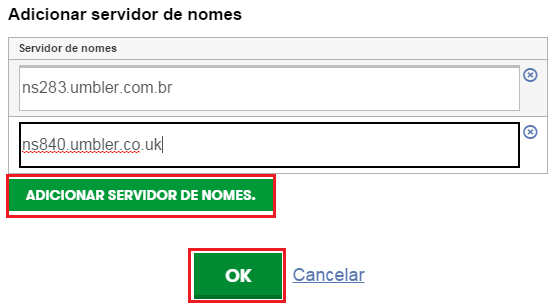
Clique em Adicionar servidor de nomes.

Informe no primeiro campo o ns283.umbler.com.br, clique em Adicionar servidor de nomes. no segundo o ns840.umbler.co.uk e clique em OK para finalizar.
Para finalizar clique em Salvar.
Pronto, seu domínio esta conectado aos nossos servidores de DNS, a atualização dos servidores ocorre dentro de 2 a 24 horas.
A alteração de DNS pode ser realizada diretamente para os nossos servidores.
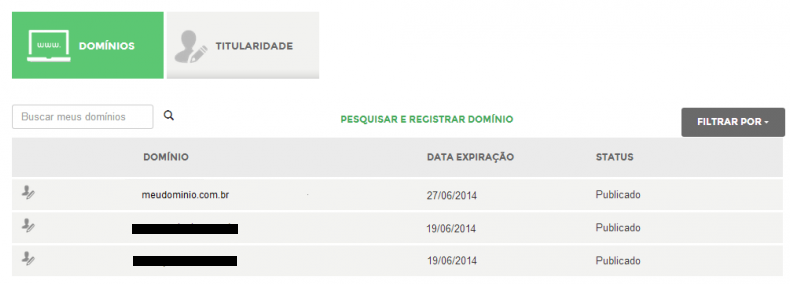
Para visualizar os DNS é necessário acessar seu painel de controle com seus dados de acesso e clicar sobre a opção Domínio.
Os servidores de DNS são os seguintes:
- ns534.umbler.com
- ns148.umbler.in
- ns283.umbler.com.br
- ns840.umbler.co.uk
| mx364.umbler.com | mx128.umbler.in |
| mx783.umbler.com.br | mx240.umbler.co.uk |
| Endereço: v=spf1 include:spf.umbler.com ~all |
| Nome: @ (ou deixe em branco) |
| Tipo: TXT |
| Endereço: autodiscoverredirection.umbler.com |
| Nome: autodiscover |
| Tipo: CNAME |
Acesse o site do Registro.br e acesse sua conta com seu ID e senha.
Clique sobre o domínio que deseja configurar.
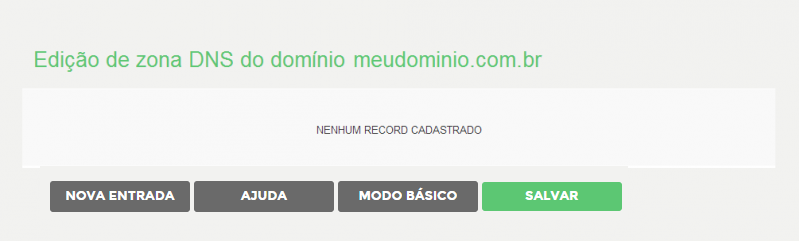
Em DNS, clique na opção Editar Zona.

Clique em Nova Entrada.
Deixe o primeiro campo em branco, selecione o tipo MX, informe a prioridade do MX e no ultimo campo o endereço, clique em Adicionar.

Clique em Nova Entrada novamente e repita o processo criando os MX e demais apontamentos necessários.


Clique em Salvar para finalizar a configuração.
Apos salvar a configuração, há um prazo de 2 a 4 horas para que seu e-mail comece a receber mensagens normalmente.
Acesse sua conta junto ao site da GoDaddy
Clique na opção Administrar do domínio que deseja alterar.
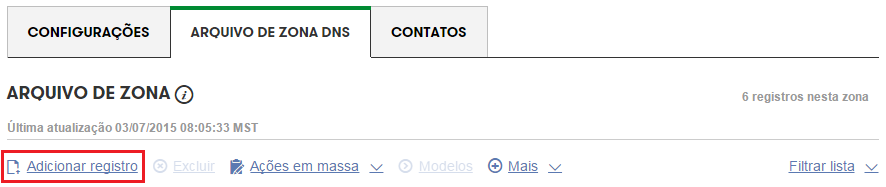
Na Aba Arquivo de Zona DNS clique em Adicionar registro.
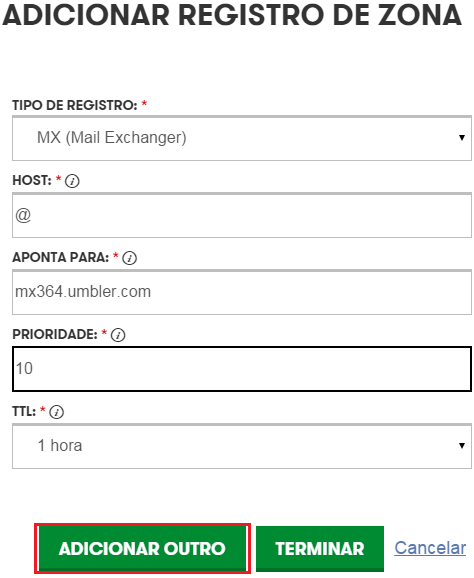
Selecione o Tipo de Registro: MX
Host: @
Aponta para: mx364.umbler.com
Prioridade: 10
TTL: 1 Hora
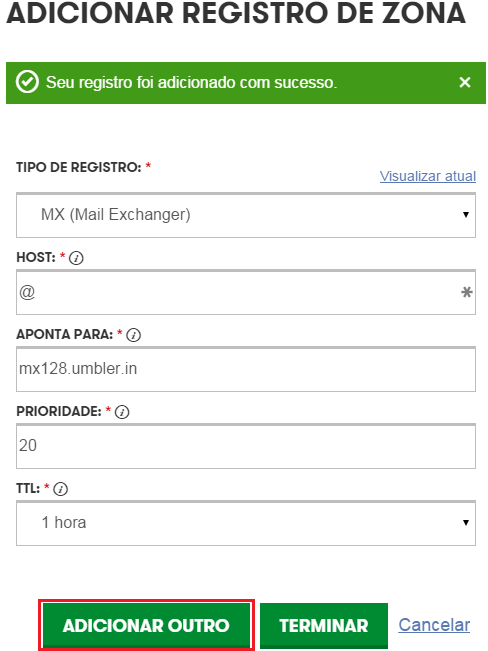
Clique em Adicionar outro
Mude o "Aponta para:" mx128.umbler.in
Prioridade:20
Clique em Adicionar outro
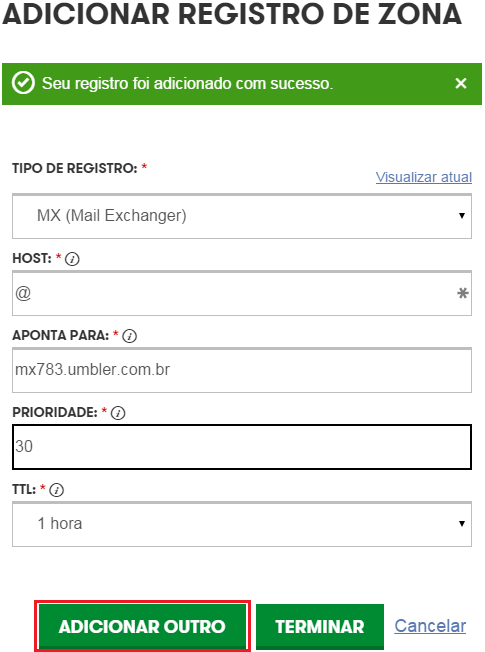
Mude o "Aponta para:" mx783.umbler.com.br
Prioridade:30
Clique em Adicionar outro
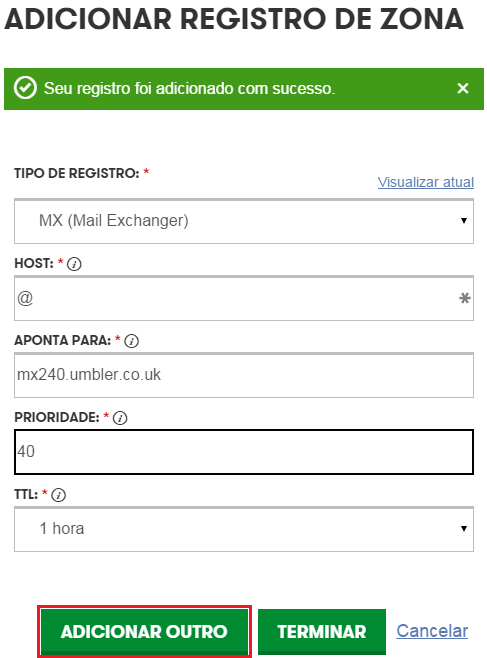
Mude o "Aponta para:" mx240.umbler.co.uk
Prioridade:40
Clique em Adicionar outro
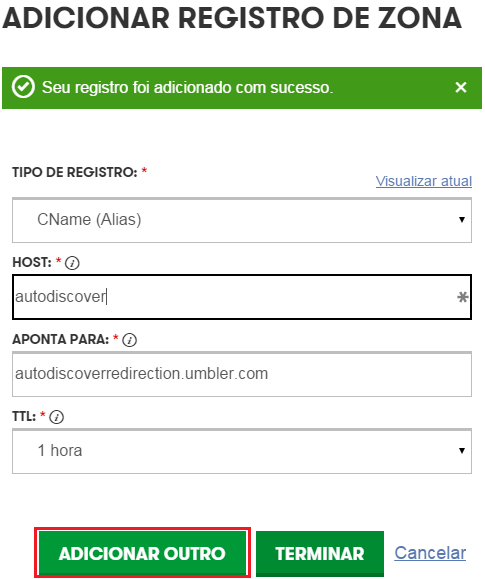
Mude o Tipo de Registro para CNAME (Alias)
Host: autodiscover
Aponta para: autodiscoverredirection.umbler.com
TTL: 1 Hora
Clique em Adicionar outro
Mude o Tipo de Registro para TXT (Texto)
Host: @
Valor TXT: v=spf1 include:spf.umbler.com ~all
TTL: 1 Hora
Clique em Terminar

Clique em Salvar alterações para finalizar a configuração, a atualização de Zonas DNS leva de 2 a 24 horas.
Obs: Se você possui outras zonas de MX criadas, remova as zonas que não pertencem a nossa provedora para evitar conflito no serviço de e-mails.
Conectar seus e-mails a seu site no Wix é muito simples.
Você já deve ter criado sua conta de e-mail no nosso painel e seu domínio já deve ter sido conectado aos servidores de DNS do Wix.
Acesse o site da Wix e logue em sua conta.

Clique em Planos e depois em Domínios.
Clique em ... ao lado do domínio que deseja configurar os e-mails.
Marque a opção Outro.
Agora é só adicionar os nossos apontamentos MX.
Endereço: mx364.umbler.com
- Nome: @ ou deixe em branco.
- Tipo: MX
- Prioridade: 10
Endereço: mx128.umbler.in
- Nome: @ ou deixe em branco.
- Tipo: MX
- Prioridade: 20
Endereço: mx783.umbler.com.br
- Nome: @ ou deixe em branco.
- Tipo: MX
- Prioridade: 30
Endereço: mx240.umbler.co.uk
- Nome: @ ou deixe em branco.
- Tipo: MX
- Prioridade: 40
Agora precisamos adicionar o apontamento TXT e CNAME, para isso volte para a aba Dominios.
Clique em … novamente e vá até Gerenciar Registros DNS.
Procure pela opção TXT e CNAME.
Crie o TXT e clique em Salvar.
Endereço: v=spf1 include:spf.umbler.com ~all
- Nome: @ ou deixe em branco.
- Tipo: SPF ou TXT
Crie o CNAME e clique em Salvar.
Endereço: autodiscoverredirection.umbler.com
- Nome: autodiscover
- Tipo: CNAME
Pronto, seu e-mail foi configurado, aguarde alguns minutos para que suas atualizações sejam propagadas pela rede.
Próximos passos:
Como acessar e configurar seu e-mail para acessar do celular, outlook, etc.
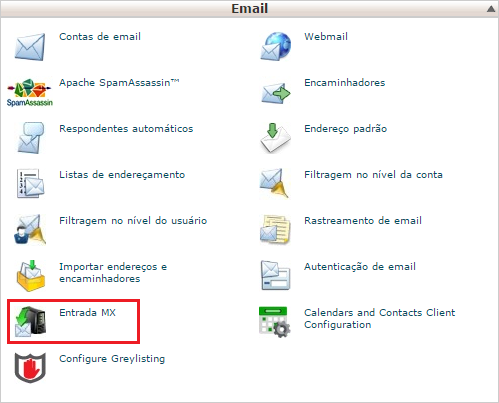
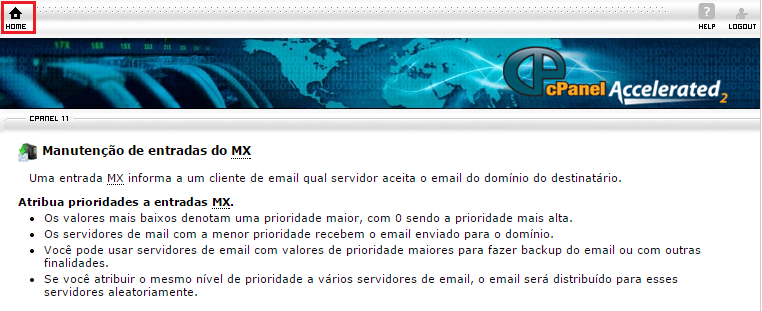
Acesse seu cPanel, na sessão Email e clique em Entrada MX.
Marque a opção Configuração detectada automaticamente e adicione o primeiro MX na sessão Adicionar novo registro.
Prioridade: 10
Destino: mx364.umbler.com
Clique em Add new Record.

Informe o segundo MX
Prioridade: 20
Destino: mx128.umbler.in
Clique em Add new Record.

Informe o terceiro MX
Prioridade: 30
Destino: mx783.umbler.com.br
Clique em Add new Record.

Informe o quarto MX
Prioridade: 40
Destino: mx240.umbler.co.uk
Clique em Add new Record.

Clique na opção Home no topo da pagina para retornar ao menu.
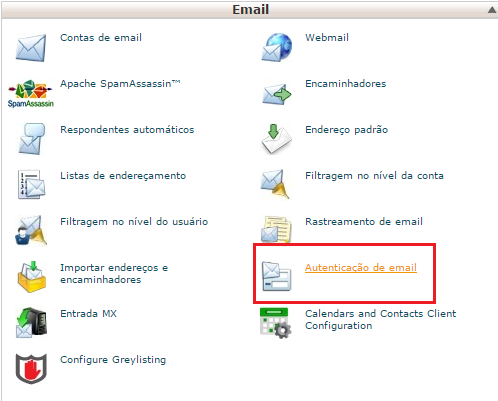
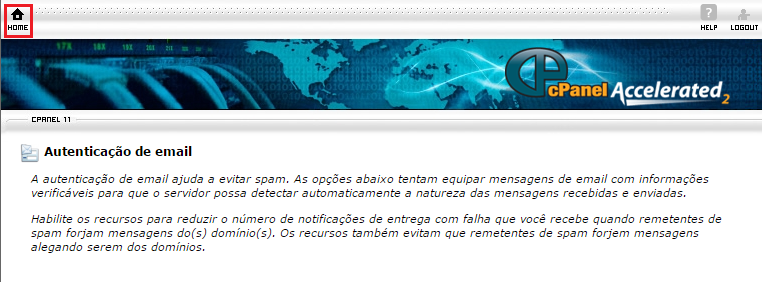
Acesse a opção Autenticação de email.
Em SPF, verifique se o Status esta como Habilitado e ativo, depois em Incluir lista (Include) informe o endereço spf.umbler.com e clique em Adicionar.

Clique na opção Home no topo da pagina para retornar ao menu.
 Em Domínios, clique em Editor de zonas DNS simples.
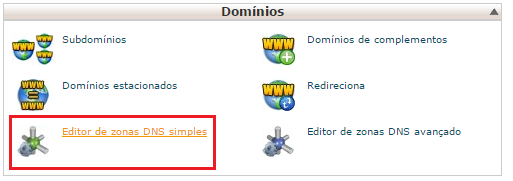
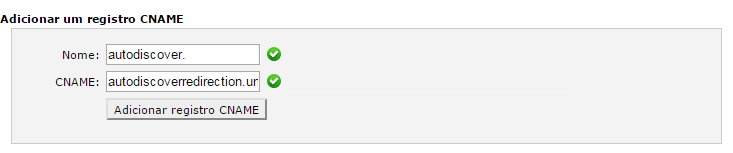
Em Adicionar um registro CNAME, informe:
Nome: autodiscover (Por padrão o cPanel autocompleta para autodiscover.seusite.com)
CNAME: autodiscoverredirection.umbler.com
Clique em Adicionar registro CNAME para finalizar a configuração.
A atualização dos e-mails ocorre entre 2 a 24 horas.
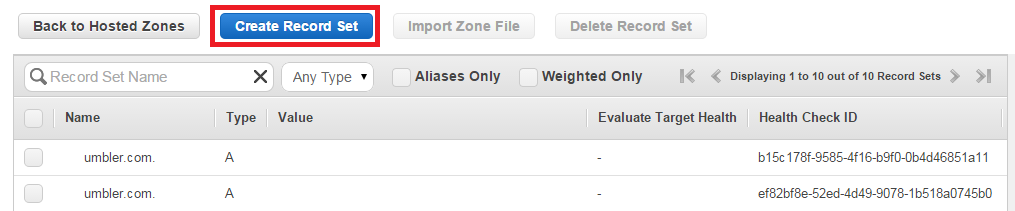
Acesse sua conta junto a Amazon, acesse o Route53 e clique sobre o domínio que deseja editar.
Clique sobre a opção Create Record Set.
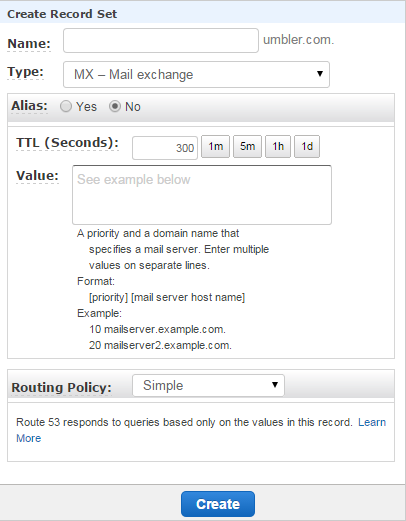
Em Create Record Set preencha com os dados:
Name: Deixe em branco, vazio
Type: MX - Mail exchange
Alias: No
TTLS (Seconds) 300
Value: Crie exatamente como abaixo, prioridade(espaço)endereço em cada linha.
10 mx364.umbler.com
20 mx128.umbler.in
30 mx783.umbler.com.br
40 mx240.umbler.co.uk
Clique em Create.
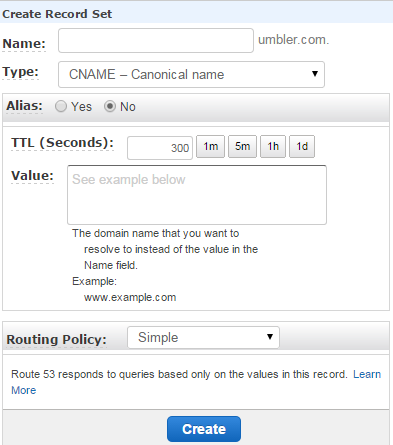
Crie o CNAME Autodiscover.
Name: autodiscover
Type: CNAME - Canonical name
Alias: No
TTLS (Seconds) 300
Value: autodiscoverredirection.umbler.com
Clique em Create.
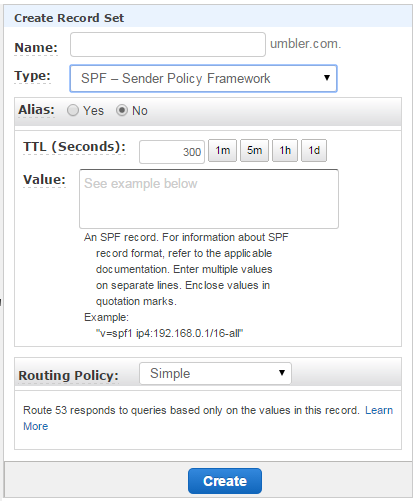
Para finalizar crie o SPF,
Name: Deixe em branco, vazio
Type: TXT
Alias: No
TTLS (Seconds) 300
Value: "v=spf1 include:spf.umbler.com ~all"
Clique em Create.
Pronto, aguarde de 2 a 4 horas para que suas configurações sejam propagadas.
Sua alteração terá de ser realizada manualmente, recomendamos que entre em contato com o suporte da empresa responsável pela hospedagem de seu domínio e solicite auxilio para configurar as zonas de DNS abaixo:
Endereço: mx364.umbler.com
- Nome: @ ou deixe em branco.
- Tipo: MX
- Prioridade: 10
Endereço: mx128.umbler.in
- Nome: @ ou deixe em branco.
- Tipo: MX
- Prioridade: 20
Endereço: mx783.umbler.com.br
- Nome: @ ou deixe em branco.
- Tipo: MX
- Prioridade: 30
Endereço: mx240.umbler.co.uk
- Nome: @ ou deixe em branco.
- Tipo: MX
- Prioridade: 40
Endereço: autodiscoverredirection.umbler.com
- Nome: autodiscover
- Tipo: CNAME
Endereço: v=spf1 include:spf.umbler.com ~all
- Nome: @ ou deixe em branco.
- Tipo: SPF ou TXT